
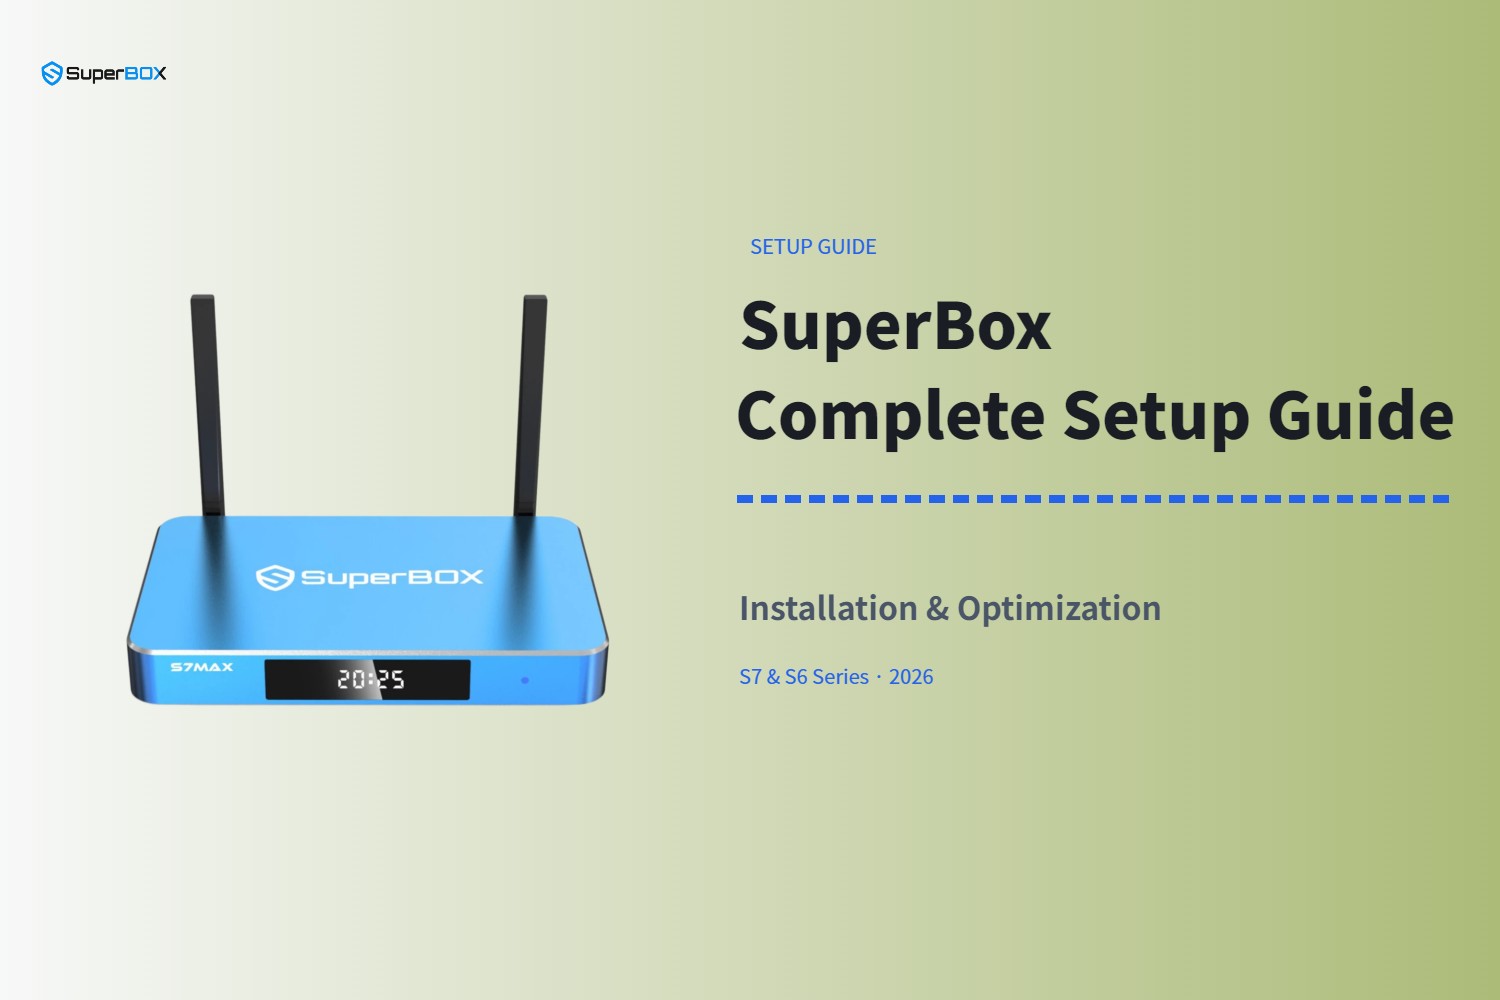
Introduction
Getting your SuperBox up and running takes just a few minutes, but optimizing it for peak performance takes a few additional steps. In this comprehensive guide, we walk you through everything from unboxing and initial configuration to advanced network tuning and maintenance best practices.
This guide applies to all current SuperBox models, including the S7 Pro, S7 Max, and S7 Ultra. The setup process is identical across the S7 lineup, and most steps also apply to S6 series devices.
What this guide covers:
- Unboxing and physical connections
- First-time setup walkthrough
- Network configuration (wired + WiFi)
- Voice remote pairing
- Recommended settings to change first
- Performance optimization tips
- Troubleshooting common issues
1. What's in the Box
Before you start, make sure you have all the components:
- SuperBox device (S7 or S6 model)
- Power adapter (USB-C for S7 / DC plug for S6)
- Bluetooth voice remote
- HDMI cable
- User manual
If anything is missing or damaged, contact support right away.
2. Physical Connections
Step 1: Connect to your TV
Plug one end of the HDMI cable into the HDMI port on the back of the SuperBox, and the other end into an available HDMI input on your television. Take note of which HDMI port you use — you'll need to select that input on your TV.
Step 2: Connect to the internet (recommended)
For the best performance, use an Ethernet cable to connect directly to your router. Gigabit Ethernet on S7 models delivers the most stable connection for high-resolution streaming. If wired isn't possible, you can set up WiFi during the initial setup.
Step 3: Power on
Plug the power adapter into the device and connect it to a wall outlet. The S7 uses a USB-C connection; the S6 uses a round DC plug. The device will power on automatically — there's no physical power button.
3. First-Time Setup
Once your TV is set to the correct HDMI input, you'll see the SuperBox boot screen. Initial setup takes about 3-5 minutes.
Language & Region
Select your preferred language and set your time zone. The device will automatically detect your region in most cases, but double-check to ensure the clock is correct — accurate time is important for the Time Shift feature.
Network Configuration
Wired (Ethernet): If you connected an Ethernet cable, the device will detect the connection automatically. No further setup needed.
WiFi:
- Select your WiFi network from the list
- Enter your password using the on-screen keyboard
- Wait for connection confirmation
Pro tip: Always choose the 5GHz network if available — it's faster and less prone to interference than 2.4GHz. All SuperBox models include WiFi 6 for optimal performance on modern routers.
Remote Pairing
The Bluetooth voice remote should pair automatically on first boot. If it doesn't:
- Make sure the remote has fresh AAA batteries installed
- Hold the remote within 10 inches of the box
- Press and hold OK + Return together until the indicator light flashes
- Wait for pairing confirmation (usually 5-10 seconds)
You can verify the connection later in Settings → Remote & Accessories. Look for "RC-100" in the paired devices list.
4. Recommended Settings to Change First
Right out of the box, SuperBox works well. But there are a few settings we recommend adjusting for the best experience:
Display Settings
Go to Settings → Display:
- Set resolution to match your TV (1080p, 4K, or 6K if your display supports it)
- Enable auto-framerate matching if available
- Adjust screen size if the picture doesn't fit your TV properly
Network Settings
Go to Settings → Network & Internet:
- If using WiFi, confirm you're connected to 5GHz
- For wired connections, verify the link speed shows 1000Mbps (S7) or 100Mbps (S6)
Sound Settings
Go to Settings → Sound:
- Select the correct audio output (HDMI for most TVs, or SPDIF if using a sound system)
- Enable passthrough if you have a receiver that handles decoding
5. Performance Optimization Tips
Once basic setup is complete, these steps will ensure you're getting the best possible performance.
Use Wired Ethernet Whenever Possible
This is the single most impactful thing you can do. WiFi is convenient, but a direct Gigabit Ethernet connection on S7 models provides:
- Lower latency (less lag for channel changes and navigation)
- Zero buffering during peak hours
- More stable playback for high-bitrate 4K/6K content
If you must use WiFi, position the router as close to the box as possible and minimize obstacles between them.
Keep Apps Updated
Outdated apps can cause performance issues and crashes. Periodically check for updates:
- Open the Google Play Store
- Go to My apps & games
- Update all pending applications
We recommend checking for app updates every 2-3 weeks.
Clear Cache Periodically
Over time, cached data from apps can build up and slow things down. Every month or so:
- Go to Settings → Apps
- Select frequently used apps
- Tap Clear Cache
This removes temporary files without deleting any of your settings or data.
Restart Occasionally
Like any computer, a fresh restart every week or two clears background processes and can fix minor glitches. Simply unplug the power for 10 seconds and plug it back in.
6. Voice Control Setup & Tips
The voice remote is one of SuperBox's most convenient features. Here's how to get the most out of it:
Common Voice Commands
Try these commands for hands-free control:
- Playback: "Pause", "Play", "Stop", "Fast forward", "Rewind"
- Navigation: "Go home", "Open settings", "Go back"
- Time seeking: "Skip forward 10 minutes", "Rewind 30 minutes"
- Subtitles: "Turn on closed captions", "Hide subtitles"
Command compatibility varies by app, but basic playback controls work across the system.
If Voice Commands Aren't Working
- Verify the remote is paired (Settings → Remote & Accessories)
- Make sure you're holding the voice button while speaking
- Speak clearly at a normal volume
- Re-pair the remote if problems persist (hold OK + Return)
7. Time Shift Feature Guide
Time Shift is SuperBox's signature playback buffer feature. It works automatically — no setup required.
How to Use It
- Pause live content: Press Pause on the remote
- Rewind: Press the Rewind button or use voice commands
- Jump back to live: Press the Live button or fast-forward all the way forward
S7 vs. S6 Difference
- S7 models: 7 full days of buffered playback
- S6 models: Approximately 8 hours of buffered playback
The buffer updates continuously in the background as long as the device is connected to the internet.
8. Troubleshooting Common Issues
No picture / black screen
- Confirm your TV is on the correct HDMI input
- Check that both ends of the HDMI cable are securely connected
- Try a different HDMI port on your TV
- Restart the box by unplugging power for 30 seconds
Buffering or playback issues
- If on WiFi, try moving closer to the router or switching to Ethernet
- Restart your router (unplug for 30 seconds)
- Clear the app cache (see optimization section above)
- Verify your internet speed meets the recommended minimums
Remote not responding
- Replace the batteries
- Re-pair the remote (hold OK + Return near the device)
- Make sure nothing is blocking the Bluetooth signal
Apps crashing
- Update the app via Google Play Store
- Clear the app's cache and data
- Uninstall and reinstall the problematic app
9. Storage Expansion
All SuperBox models support external storage via USB. If you need more space for apps, media, or downloads:
- Connect a USB 3.0 flash drive or external hard drive to the USB port
- The device will detect the drive automatically
- Use file manager apps to move media and downloads to external storage
Note that apps themselves still run best on internal storage, which is why we generally recommend stepping up to a higher storage tier if you need more space. If you're deciding between models, our SuperBox model comparison breaks down the storage differences in detail.
Final Notes
Most people will be up and running in under 10 minutes following the basic setup steps. The optimization and troubleshooting sections are reference material for when you want to squeeze out maximum performance or run into issues.
If you're still deciding which model to buy, the S7 Max is our most popular recommendation for the best balance of storage and features. For budget shoppers, the S7 Pro delivers identical performance with 32GB of storage, and power users can step up to the S7 Ultra for 128GB and a backlit remote.
In-depth S7 Max review
In-depth S7 Max review